Saturday, 19 April 2014

Ever have one of those days

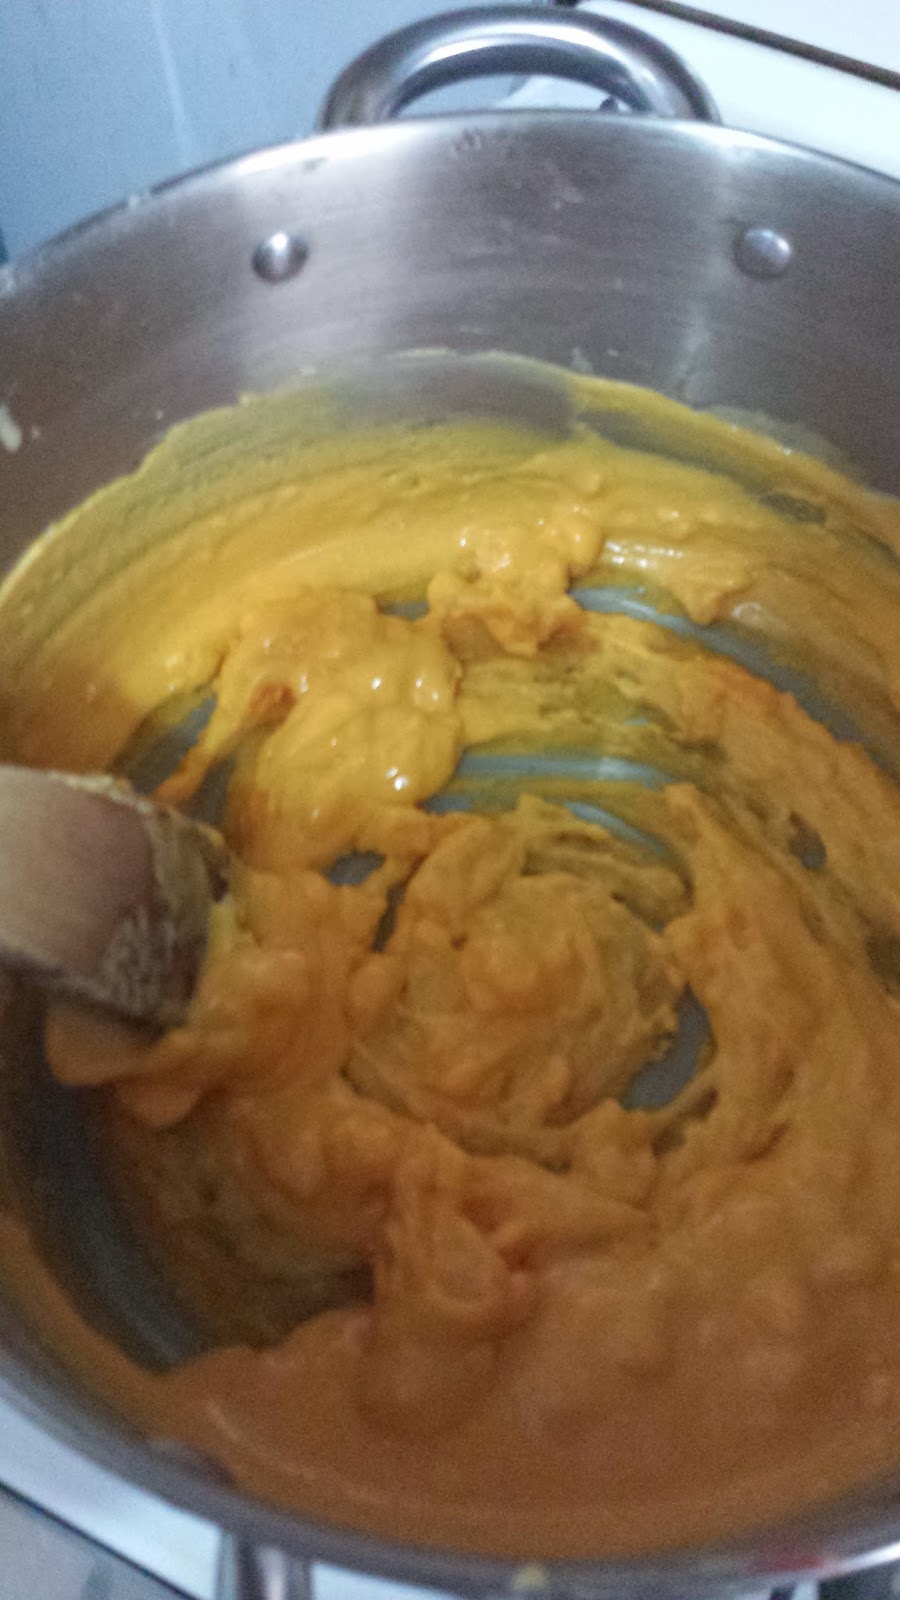
Omg. I am not even sure I want to talk about it. After a great day for miss s birthday I was being proactive about tomorrows lunch. You know being easter sunday and all. And this happened. 

I resolved it by baking spuds in there instead.

However this week I (and by I, I mean predominately the children)have smashed a jar of coconut oil, smashed a bread and butter plate, smashed 3 breakfast bowls, spilt 2 litres of milk on my floor, had the birthday cake fall to bit coming out of the tin, flooded the backyard and now NOW this.

Do you feel better now. Haha.. bring on Monday and THE END OF THE SCHOOL HOLIDAYS...

I think I need a holiday

NIGHT GUYS XX

No longer a baby

Today we had a joint party with miss s for her third birthday and miss r for her 4th.  Miss r is a very dear friend whose mum offered to join our children's parties to have one big one. And what a lovely day it was.
Miss s was telling me all week that everybody was going to sing happy birthday vanna to her. When it came to the crunch she looked a bit baffled by the whole thing.
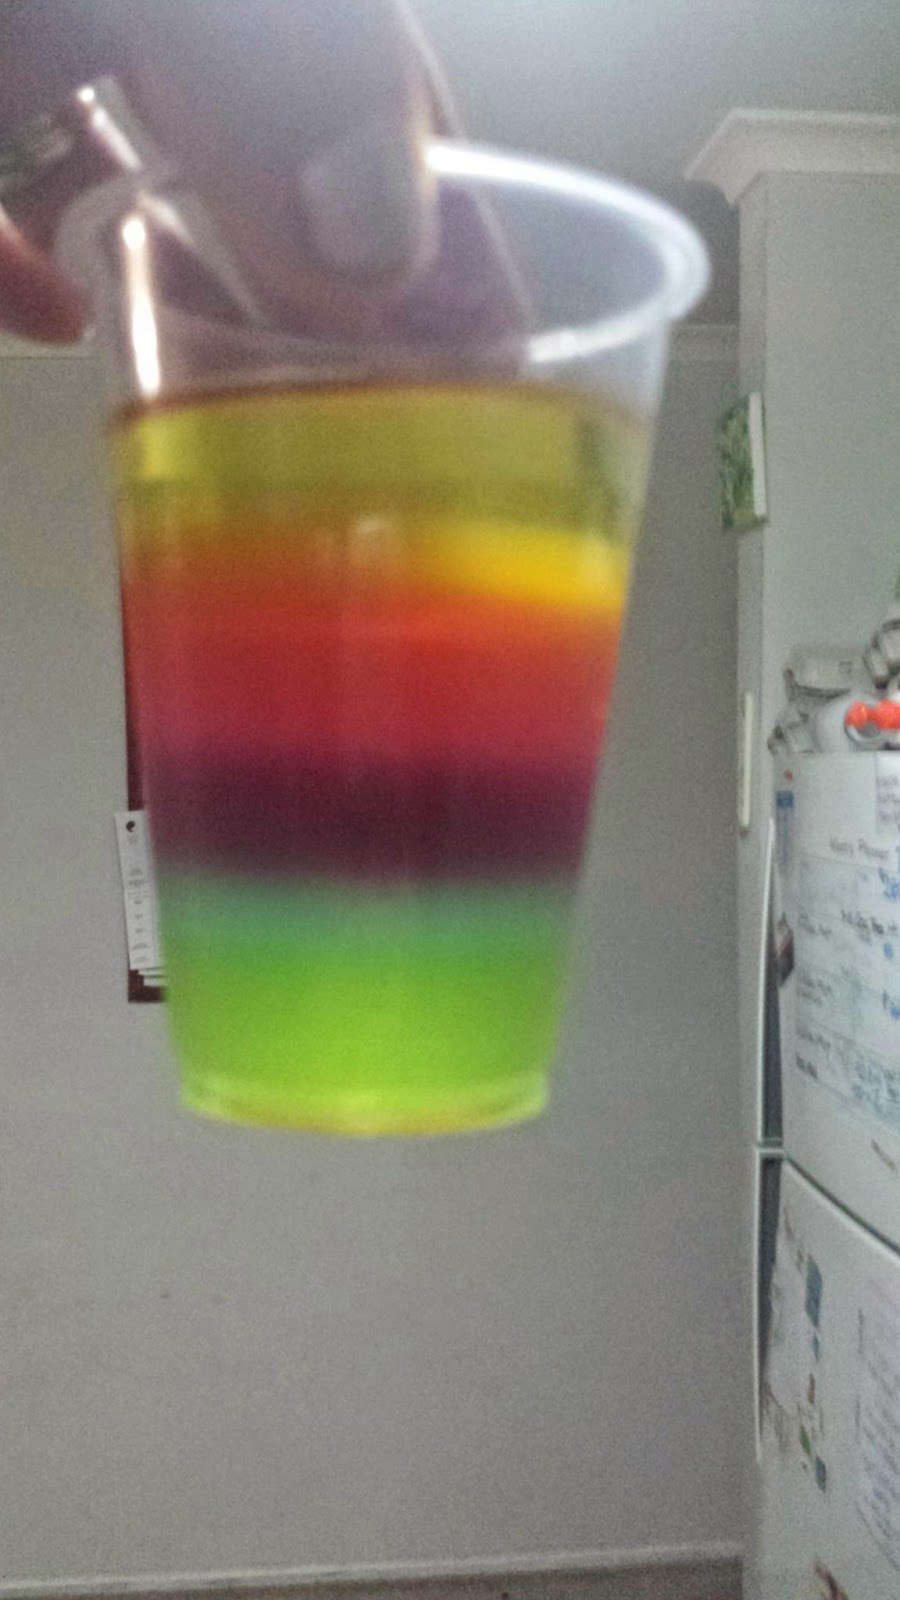
I spent the latter part of the week getting prepared. Making playdough, jelly, cakes, honey joys and chocolate crackles.
The weather was a bit iffy with intermittent rain but did that bother the children. NO. the parents. yeah a little. But you know what. It didn't matter. What did matter was that the birthday girls had a good time.
My friend made a unicorn cake while I made my own spin on a dolly varden cake. (I had a couple of mishaps with my cake, this week multi tasking was not my forte)

I'm not sure how I feel about miss s turning 3. I think its time to say goodbye to my baby and hello to my preschooler. (Or can I still claim toddler) being my last child it's bitter sweet.

Here's some snaps from our day. Thanks to everyone who made it the day It was xxx


Friday, 11 April 2014

Geometric board.

One of the things we need to work on with my son is his fine motor skills.  Part of his condition means he has fingers that are quite rubbery. I have been working on a few things we can do from home in between Occupational Therapy appointments which I will post about in due time (read: when I get a chance).  One of the things I really wanted to do was make a geometric board for him to work with.

This is essentially a piece of wood covered in nails that you wrap elastic bands around.

What you need

A piece of wood cut to the size you want. I originally wanted it to be 12x12 inches however I was working with what I had so 14 inches x 6 inches is what I used.

A packet of nails. I used 1 inch nails with flat heads

A hammer

A packet of multi coloured elastic bands

A ruler

A greylead pencil

I started by cutting my wood to size and sanding the edges. I then measured out a grid witg 1.5in intervals between the markings.

I then hammered nails into the marks. I only hammered the nails in until the wood 'grabbed' the nails

I decided to spray paint the board however I went over the red paint with bursts of silver just so I could highlight where the nails were.

I went to my grandpas house to get the materials (wood offcuts and nails) so essentially it cost me 87 cents for the elastic bands and so far we have had hours of fun.

It was lovely to sit in his shed and have him work on his model planes and I creating a 'masterpiece'

Monday, 24 March 2014

Camp.Paper.Scissors Feb/March 2014

Oh WOW!  I Just realised I forgot to post about my retreat I went to!

So a group of us on the Project Life Australia Group on Facebook get together twice a year to catch up and get some crafty goodness happening.  Michelle and Carol lovingly organise this camp (Camp.Paper.Scissors) and we get treated to a lovely relaxing weekend that is affordable and a great group of women.

Our abode for the weekend
This camp was at the YMCA Lady Northcote camp in Rowsley (about 20 minutes from Bacchus Marsh in Victoria, Australia).  It was a lovely setting to just relax, Big windows with fantastic natural lighting  and a large hall.  There were 33 of us staying there over the weekend, Some having flown in from the sunshine Coast in Queensland. We were able to start arriving from 4pm on Friday, as some of us were running early we met in Bacchus Marsh for coffee before heading out to camp.

This Scrapbooking is messy stuff
Upon arriving at camp it didnt take long to make a mess and get creative. We were greeted at our tables with goodie bags which are always exciting.  This year we received some brush script cards from Jodie at Polka Dot Creative, Some flair and wood veneer from Raquel at A Piece of cake Designs, An overlay and lined cards from Mary and David at Craft House, a 1/4 kit of the Strawberry kit, a 1/4 kit of the Azure kit (I fell in love with this kit) and a packet of Thickers from Spotlight, a camp.paper.scissors pencil, a tumbler with a straw, and some ribbon and twine. There were also some stamped elements that worked well as embellishments.  Quite a good haul.  The girls out did themselves this time around, THANK YOU LADIES!!!

The planning stages of my monochromatic challenge
On Saturday some of the girls attended archery, while the rest of us woke up. We were  then greeted with videos from Elise Blaha-Cripe, Wilna Furstenburg and Maggie Holmes and CHALLENGES.  There were 4 Challenges.  Scrap your Sentence (my sentence was create a layout about someone you love, and journal about why you are proud of them.), Monochromatic, Layers and Kill your Kit.  I entered a layout into 3 of the 4 Challenges running out of time for the kill your kit Challenge.  I was Pleasantly surprised when I won the Scrap your sentence Challenge as that was my least liked layout out of them all. 

Taking photos of my layouts is not my forte.  However here is my scrap your sentence Layout


My prize
 I also took a canvas class using photos from the summer with Kellie from Kellies Stamps. I love love love how this canvas turned out and I has taken pride of place in my loungeroom.  If you want to have a go at making your own visit Kellie here for her tutorial
The canvas I created in Kellies canvas Class
 It was such a fantastic weekend.  So many laughs, shenanigans and Project lifing. I achieved so much, all I need to do is add journalling to my holiday layouts.  Which one month on.... Yep you guessed it still waiting to be journalled!!! It will happen.

I really feel I have made friends that will be around for a long long time...


Sunday, 23 March 2014

Viva paper pens and Enamel Dots

I am OBSESSED with enamel dots at the moment. I mean who isn't.  The problem being they can get expensive. so I started exploring ways I could make my own. the first attempt I melted pony beads in the oven. the results were quite good however, the fumes weren't great and after a bit of research I found out the fumes are toxic. So dont do that!! From an enamel dot point of view I wasn't happy with the fact you could only make one size. I like variations.
Then I came across viva paper pens. Omg my life has been changed I purchased 3 colours from Scrap Dragon to trial them and see what the results were like. I was thrilled!!! I simply made dots on my craft sheet and let then dry. The trick is to not do them too close together as you will end up with a big gloop. The paint takes a while to dry so I recommend making them at night  before bed so  they're dry in the morning.
I was so impressed, i have ordered 3 more colours. At $5.99 a pen and $6.95 postage for 3 pens you cant go wrong. It makes it much more economical than enamel dots. I also saw you can get pearl pens by the same company which is now on my wish list.


I am so so so Happy with how these turned out. do yourself a favour. Go and get some and try them for yourself, you wont be sorry. Im simply a little crafter who is absolutely thrilled with a product!!! 

The card on the left has been embellished using enamel dots where the card
on the right I embellished using dots I made with the viva paint pens

However... i emailed scrap dragon to ask if they minded me linking their store and they gave me a 5% discount code for you to use. The discount code is SCRAPDRAGON


Happy Crafting!!!

Tuesday, 25 February 2014

Play dough time

I have a pet hate.

This pet hate is playdough.  I hate it getting smooshed into my carpet.  So up until recently it has been banned in my house.  When we were living in a house full of floorboards I was happy to have it around as soon as we moved into a house with cream carpet, goodbye playdough.

At our last paediatrician appointment for Master 4. She told us that due to the EDS and hypemobility in his fingers (essentially they are like rubber) that he may have trouble writing and with other fine motor skills, and an occupational therapist will have to be consulted later this year.  Before the change to Primary School.  While speaking to a girlfriend who is a primary school teacher about this she said "I know you wont like this but as far as fine motor goes, playdough is the way to go". OH MAN REALLY.

It had to be orange... Master 4's favorite colour
I procrastinated over this for a couple of days.  How do I get my head around the play dough in the carpet.... Then a couple of Saturdays ago I woke up and a friend on Facebook had a playdough activity table she was throwing out and wanted to know if anyone was interested.  OK I looked at that as a sign.  So we sadi yes please and proceeded to make some playdough.  I really like the thought of play dough from scratch,  but the recipe I have always used uses 4 TBS of cream of tartar.  Thats alot of cream of tartare, almost the whole tub.  So It comes down to remembering to buy some everytime I need to make a new batch.

At first I though Oh god what did I do wrong.  But keep stirring it will work
While perusing Pinterest (I mean who doesnt these days), I came across this recipe. and it only uses 1tsp  of cream of tartar. BRILLIANT.  I did add the essential oils, however I question as to whether adding them to hot dough will alter their therapeutic qualities. But hey I have pretty smelling playdough.


Getting Master 4's tick of approval. Actually he was
convinced I was fibbing when I said it was too hot to
 play with yet, and had to see for himself

Sunday, 23 February 2014

Unfinished Projects

I am the queen on unfinished projects. Some are because I got bored halfway through, some went into the too hard basket and some were simply forgotten.

So this year I am planning on completing some ALL of my unfinished projects and making a start on my crafty wish list a couple of things I really want to do.

☆ Keep up to date with my project life. Now that I have a picturemate this task doesn't seem quite as daunting.
☆ Finish my about me album using the Heidi Swapp memory file album I was gifted last year.
☆ My children's baby albums. They are on their way but still works in progress
☆ Wedding album - this one I almost completed last weekend I just need to do a little journalling
☆My photo a day album using fat mum slims photo prompts
☆ Complete my 2013 project life 

Tasks I wish to start and finish this year

☆ I really want to try my hand at quilting. This is something I have wanted to do for a long time. Today I actually bought some material to try my hand a paper piecing some cushions for my loungeroom.  The scrapbook desk is going to be temporarily packed away to accommodate my sewing machine.
☆ A before we were us album. Contrary to popular belief before we were parents we had a life. I really want to document this.  Their is more to our story than the now

Do you have plans for your unfinished projects?  or are they going to stay sitting in a cupboard?

My goodies I bought today all ready to go.  I hope the you tube tute is as easy as it looks